No Need to hassle with Keys!
Cabinet Lock
Instructions- Lockers with Combination Locks |
|
|||||||||
| Instructions, discovering lost codes, installation and specifications |

Download Instructions |
|||||||||
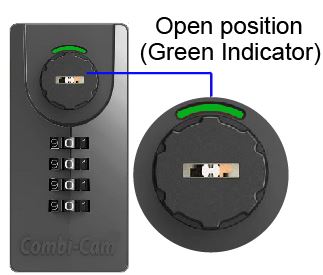
InstructionsSetting combination in standard, fixed mode 1. Open the lock by turning the knob to the right using the CURRENT 3, Set the combination to the desired combination 4. Once the code is set, return to the back of the lock and turn the screw back away from reset mode to "F" (fixed code) NOTE: This lock can be scrambled while it is in the open position. The combination is not required to turn the knob to lock it. Converting lock to one time use mode 1. Open the lock by turning the knob to the right using the CURRENT 3, LEAVE THE SCREW AT R 4. Leave the lock open. Whatever code is on the dials when it is closed becomes the same code required to open it again.
|
 1
1 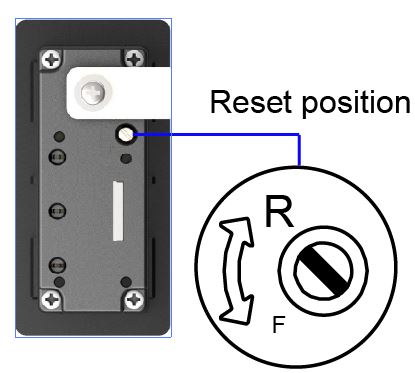 2
2 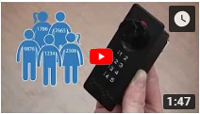
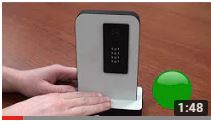
Video 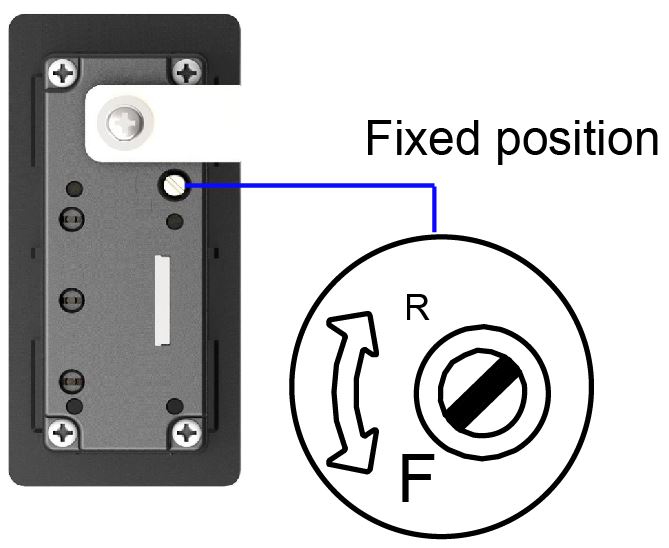 4
4
|
|||||||||
|
|
||||||||||
|
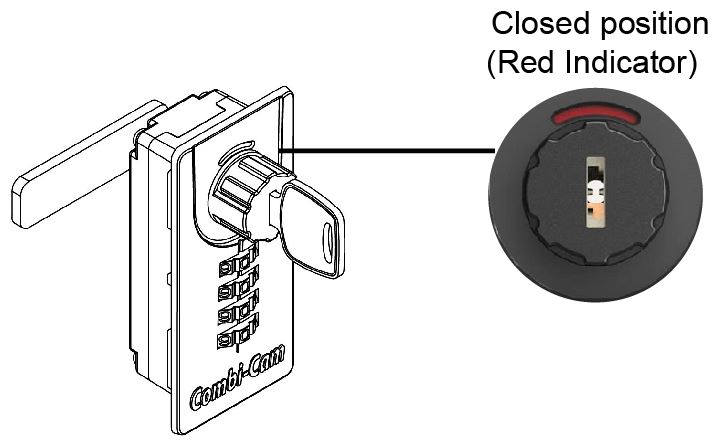
Discover Lost Code w/ Manager Key Forgotten combination, employee left, etc. Override the combination, discover new code and set a new one. One key controls all locks in the group. 1. With knob in closed position (red indicator), Insert master key. 3, With the key still inserted and to the right, gently rotate the dials until they stop. Where the dials stop is the current opening combination. 4. Return the key to the closed position. NOTE: This lock can be scrambled while it is in the open position. The combination is not required to turn the knob to lock it.
|
 1
1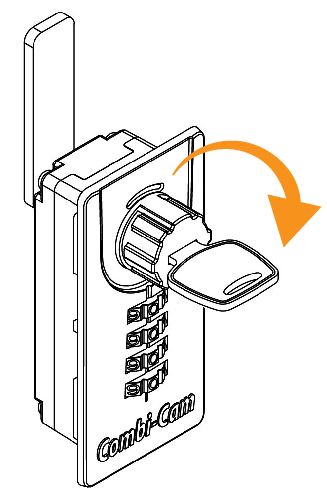 2
2  3
3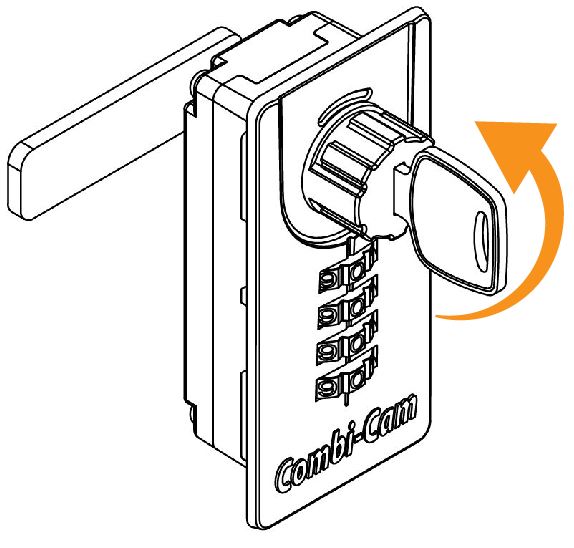 4
4 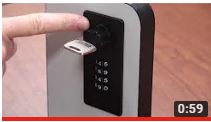
Video |
|||||||||
|
|
||||||||||
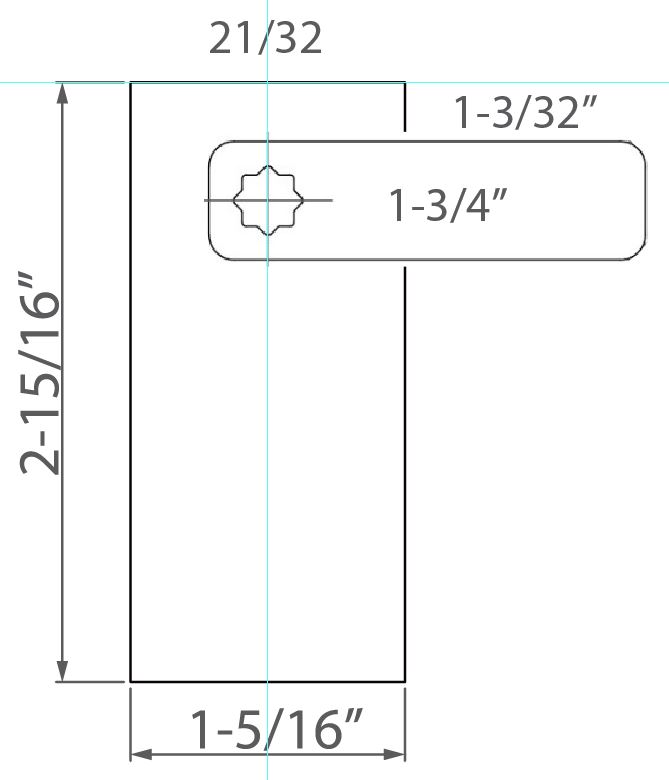
Installation- All installations will vary depending on the application but below is a generic guide1. Select proper tools to cut a square hole into wood (for example: drill and hacksaw, trim router, jigsaw, oscillating tool, etc.) 2. The square hole required is 1-5/16" wide by 2-5/16" high. The reach of the cam included is 1-3/4" 3. The hole should be be placed close enough to where the cam can rotate behind where it will catch a minimum of 1/2" from the end of the cam. |
|
|||||||||
|
5. Insert the lock through the cut out. 6. Select the appropriate back plate that is included with Lock (see #9 below) 7. Using the 4 included screws, secure the lock by threading into the corresponding holes on back of the lock 8. Using the included cam screw, attach the cam to the back of the lock |

|
|||||||||
|
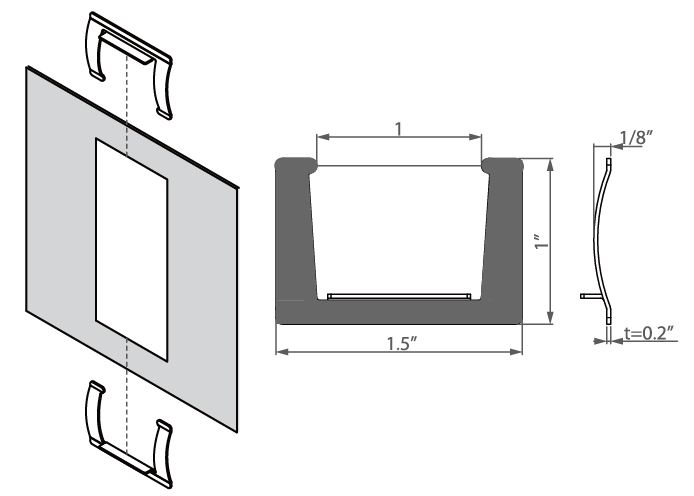
9. Choosing the correct back plate (all included!) The back plate will depend on the material thickness of your door/drawer. The Combi-Cam Max includes accessories to accommodate most applications from 1/16" metal all the way up to 7/8" wood.
|
For 1/16" thick metal installation. 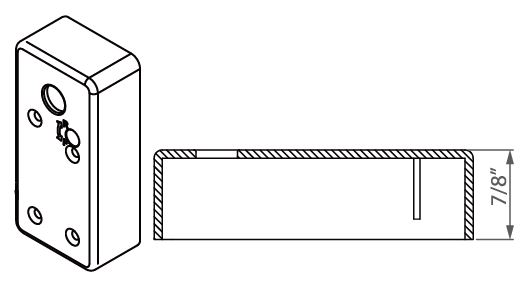
Material thickness: 1/16" to 1/4" 
Material thickness: 1/4" to 7/16" 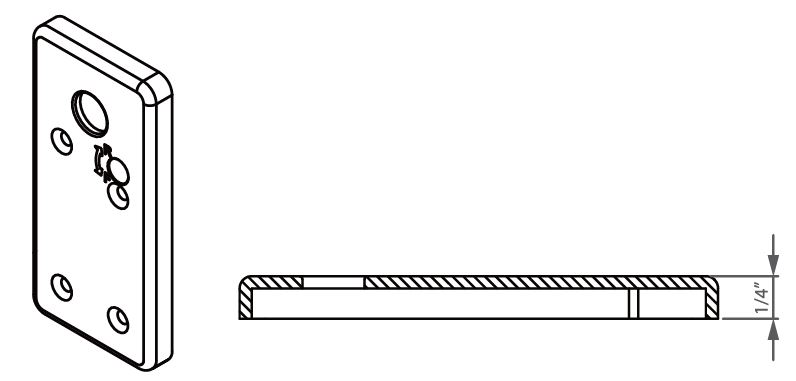
Material thickness: 11/16"" to 7/8" |
|||||||||